With the many characters and their unique abilities in Valorant, the game can get complicated very fast. Sage is one of the strongest characters in the game, and she’s suffered many nerfs because of it.
Her ability to control choke points, make unique team plays, heal, and bring the dead back to life all make her a force to be reckoned with.
To bring out the full potential of Sage, however, is a tall task. With this guide, we seek to tap into Sage’s potent power; to help you walk sideways and do as you please in every game.
We’ll go into how to effectively use the healing orb, different barrier orb utility usages and placement, and how to pick who to revive and when to do it.
Be the Hero of Your Team with Sage’s Healing Orbs
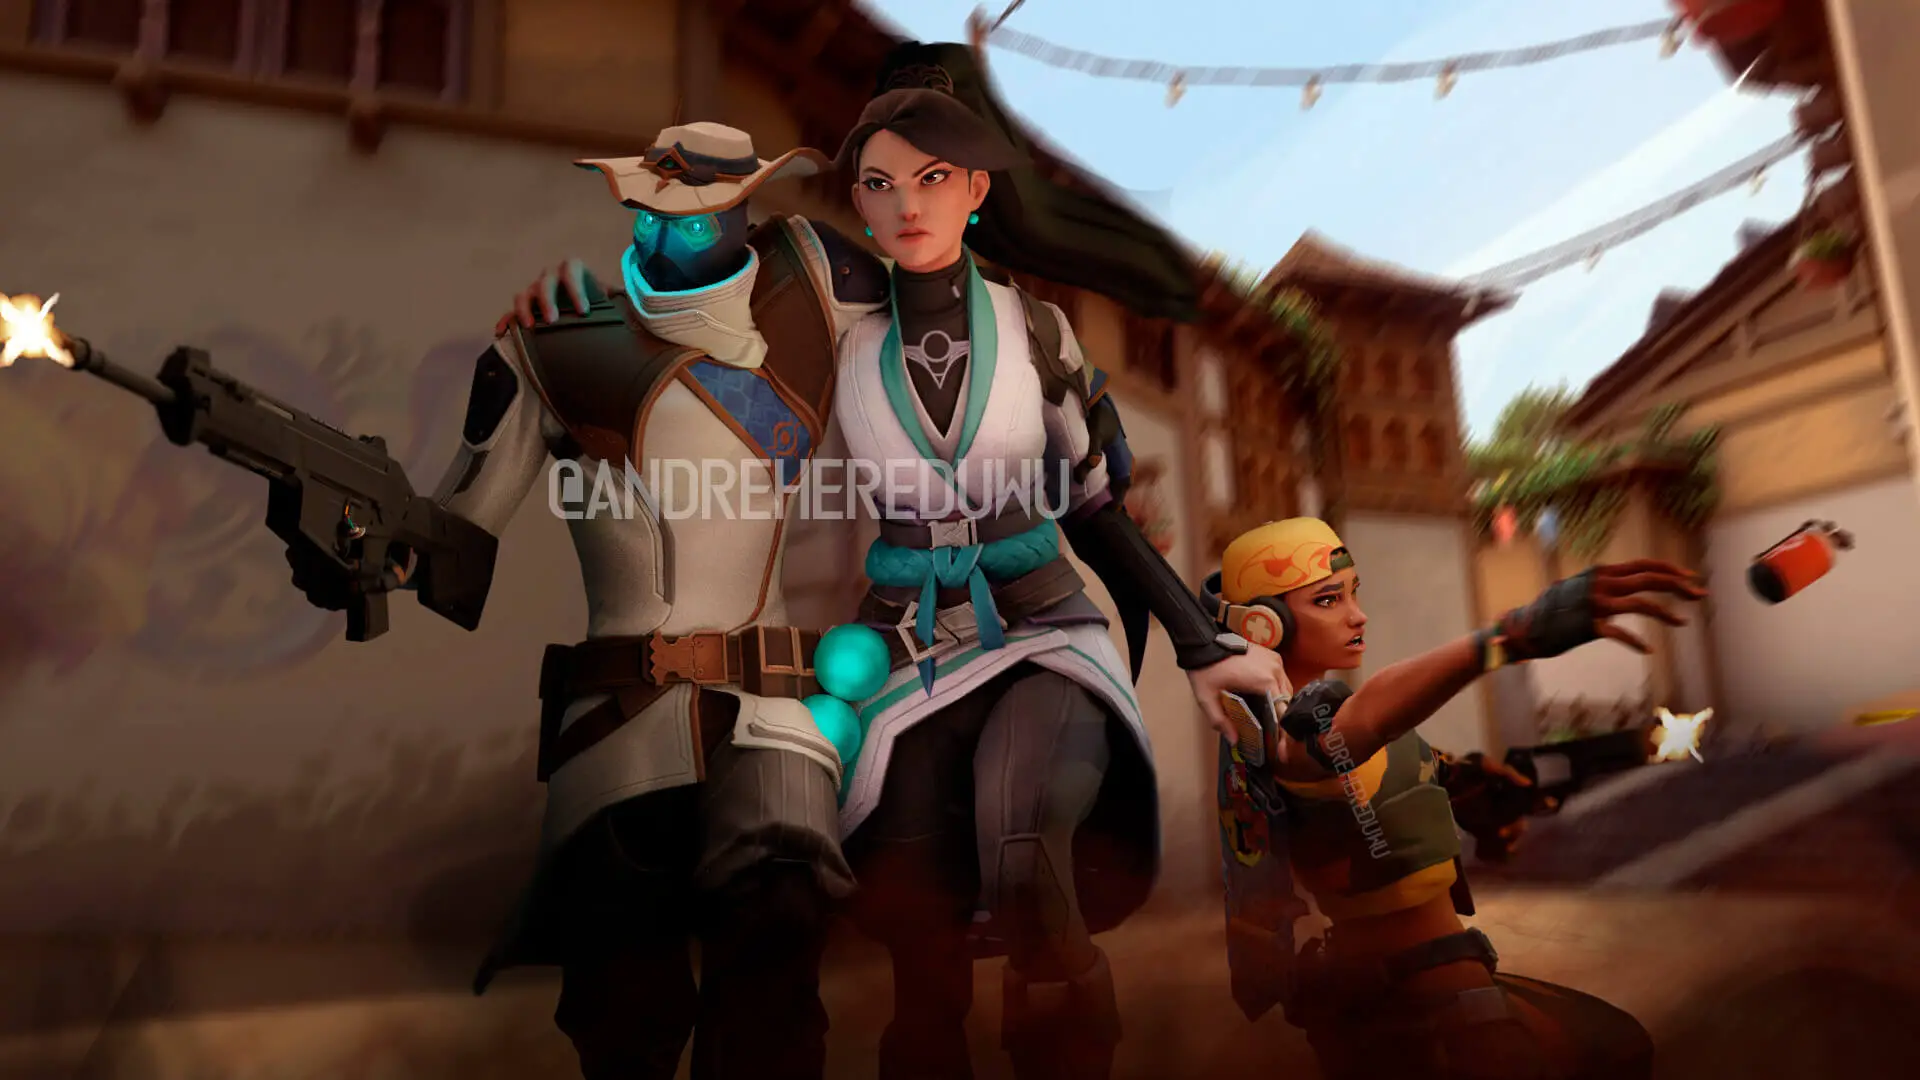
photo @andrehereduwu
The healing orb is Sage’s bread and butter ability.
Without heal, she’d be a shell of what she is now. This is her signature ability, which means you do not have to buy it, and you will be able to use it after the cooldown lapses.
That said, the smart usage of this ability can be the deciding factor of winning and losing a round or a game. She can heal herself or her teammate, and the ability goes on cooldown for 45 seconds. It is important to note that her healing orbs’ heal is gradual and not instant.
This means it takes time for the heal to take complete effect and hiccups can occur in this time gap.
When using Sage’s Healing Orb, these are some things to consider:
-
How much health your teammate is missing (and if it is worth healing them)

Valorant Sage Healing Orb (Healing from Afar)
If your teammate is only missing 20-30 health, it is not worth it to use your heal. Don’t be too thrifty, however. You still have to be alive to use it so don’t be too reluctant to heal 30 of your own HP as it can be the difference between living and dying. The cooldown on this ability is 45 seconds, so it is nowhere near a spammable ability. It is best to use this ability on someone below 50% health or someone chunked out earlier in the game. Using it on an ally in the line of fire will greatly reduce the Healing Orb’s effectiveness, so try to do it in a moment of peace.
-
Frequently check your teammates’ health bars.

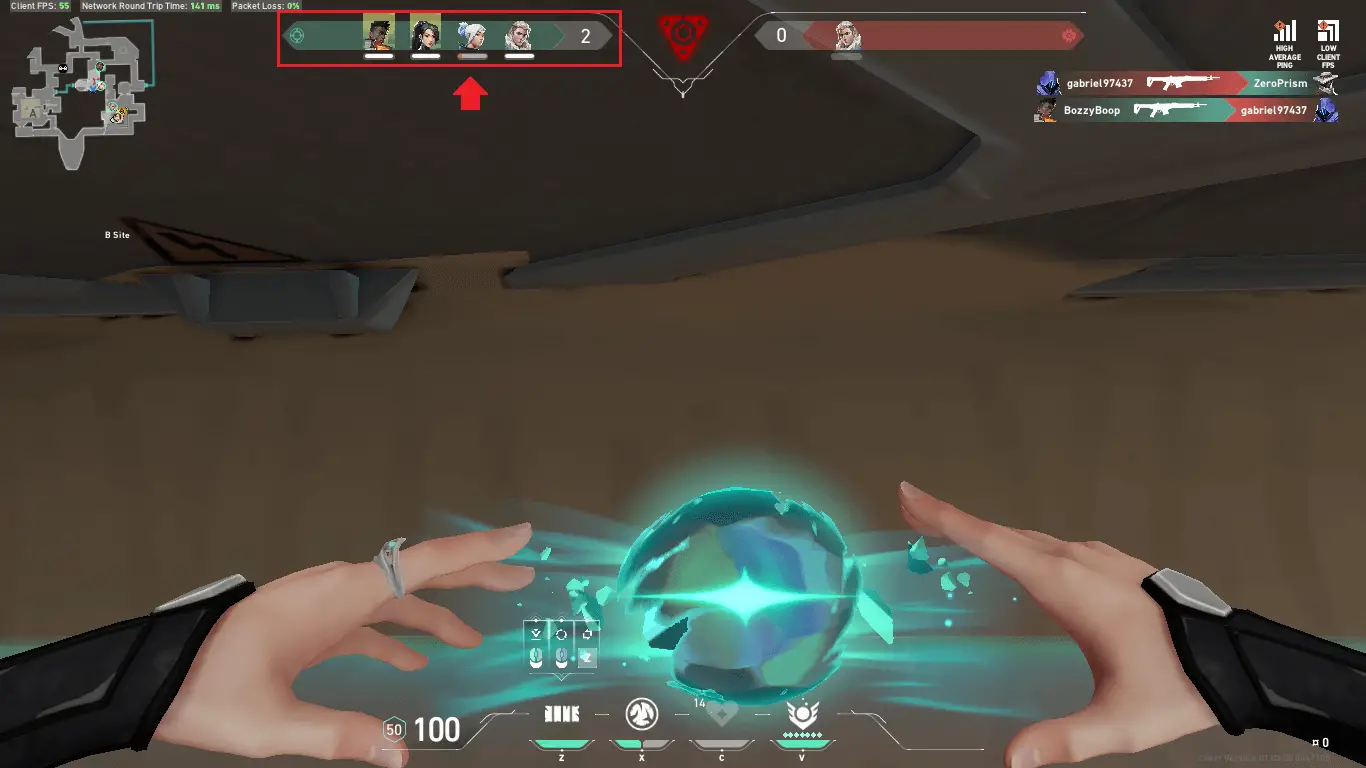
Sometimes you’ll find yourself playing with strangers that like to keep to themselves. Surely there will be a lack of communication and you will have to take matters into your own hands. One way to play your part as a support is to actively seek out those who need support. Frequently checking HP bars after a firefight will help you keep your team healthy. You can do this by hovering over your teammates with your crosshairs, or looking at the player board at the top of the screen. -
Either use Healing Orb very early in the round or be very selective

Valorant Sage Spike Rush
As mentioned above, the Healing Orb’s cooldown is 45 seconds, and each round lasts 100 seconds. In the unlikely occurrence that the spike is not planted, you’ll only be able to use it twice, and three times if it’s planted, assuming you use it exactly off of cooldown.
-
In the pistol rounds, Sage’s healing orb is king.

In the pistol rounds (1st and switch round), the ability to heal is much more prominent than other rounds. One reason for this is that secondary weapons do less damage than primary weapons. This reduced damage allows teammates a better chance to survive a scenario with their life. You can then heal them anew and turn a sour situation around. You can also use heal as an incentive to make aggressive pistol plays, whatever suits your style.
Blocking and Barricading with the Barrier Orb
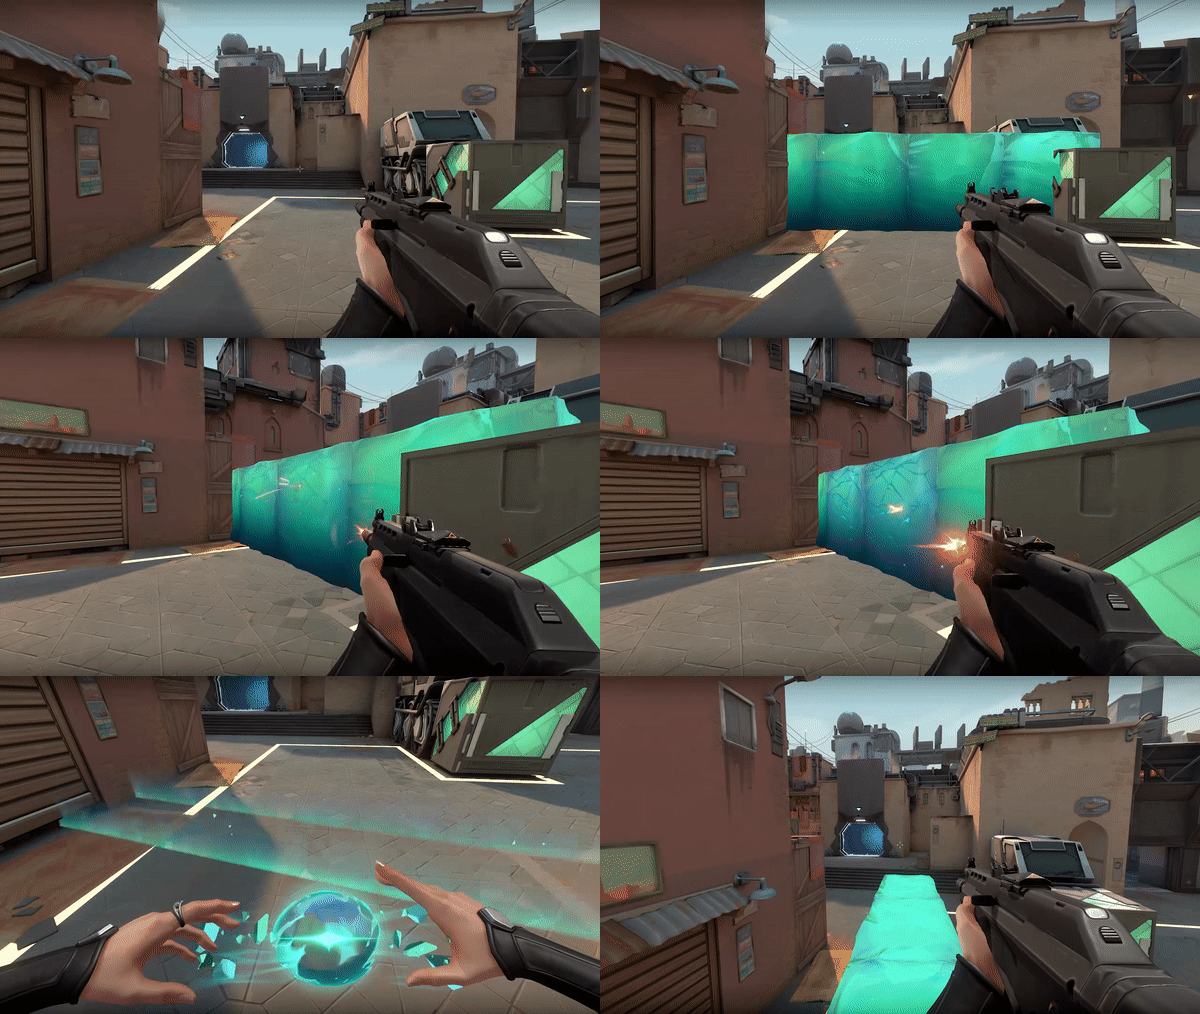
Valorant Sage Barrier Blocking (A Site Block)
With Riot Games focusing on diversity, strategy, and playmaking, nothing can quite top the ability to create walls wherever you please.
Sage’s Barrier Orb is probably one of the most recognizable abilities in the game.
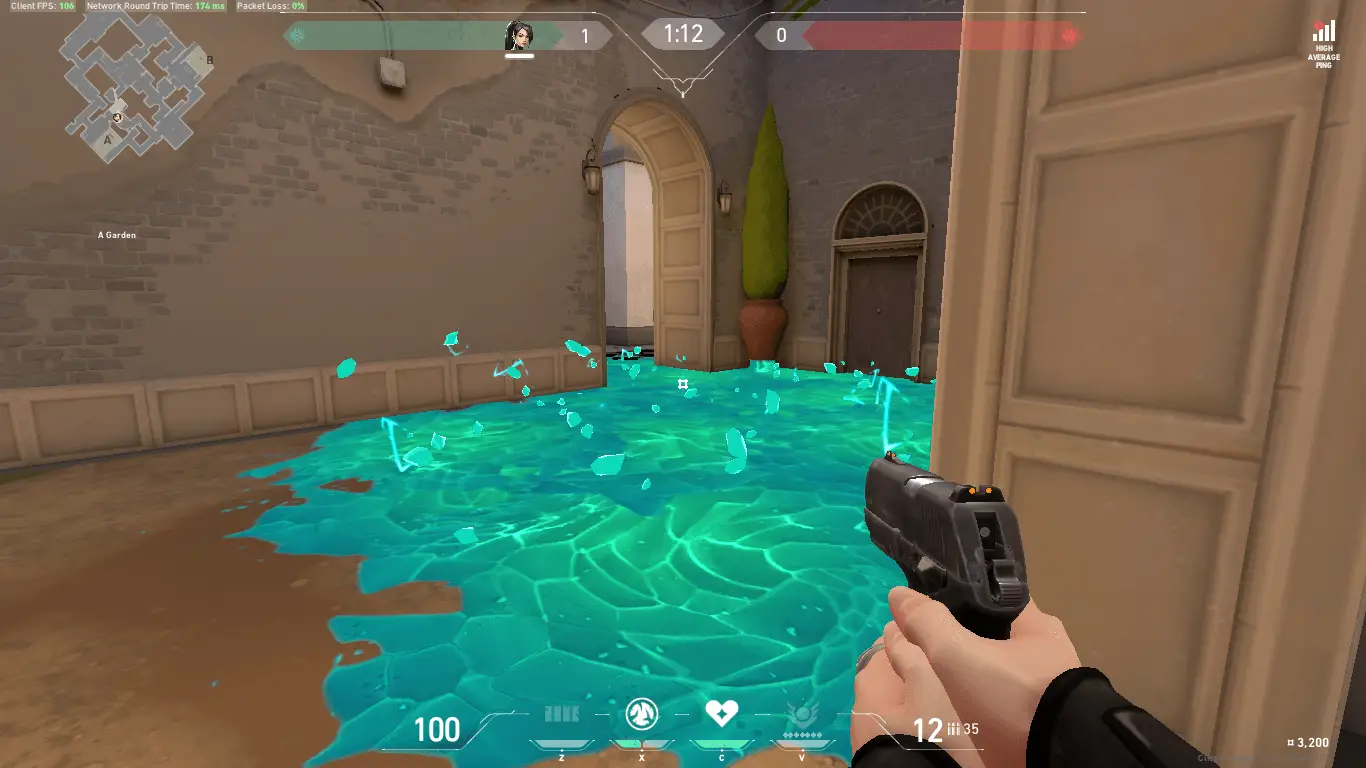
You’re able to elevate yourself and allies, block off enemies and sight, or just defend a direction effectively. The wall you create can be destroyed, but the enemy will have to waste time or make a ruckus to ram through your wall; this will give you valuable time to react. Sage’s wall is one of the most diverse abilities in the game.
When using Sage’s Barrier Orb, here are some things to consider:
-
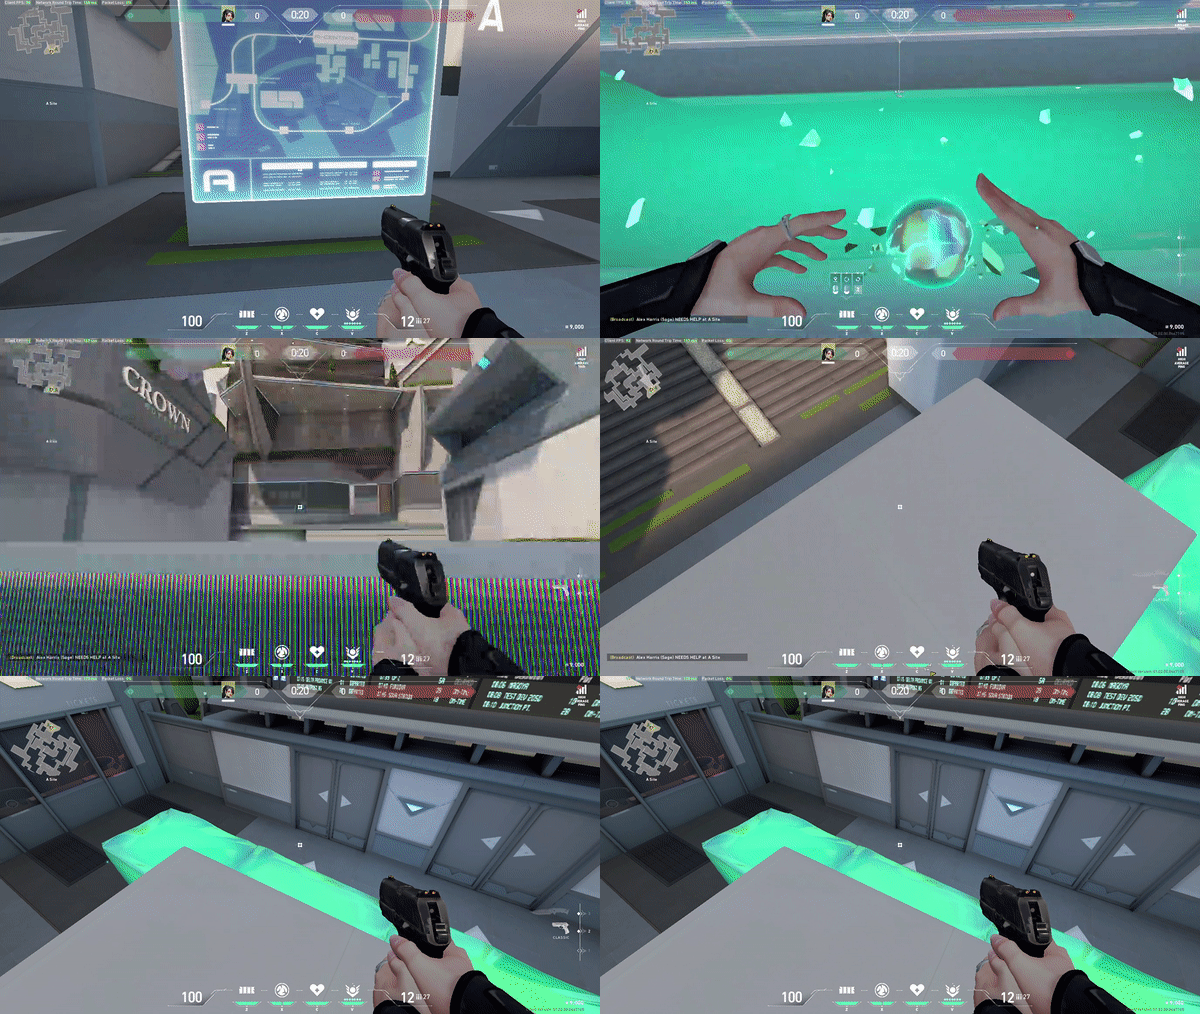
Use Sage’s barrier to vault to a better vantage point

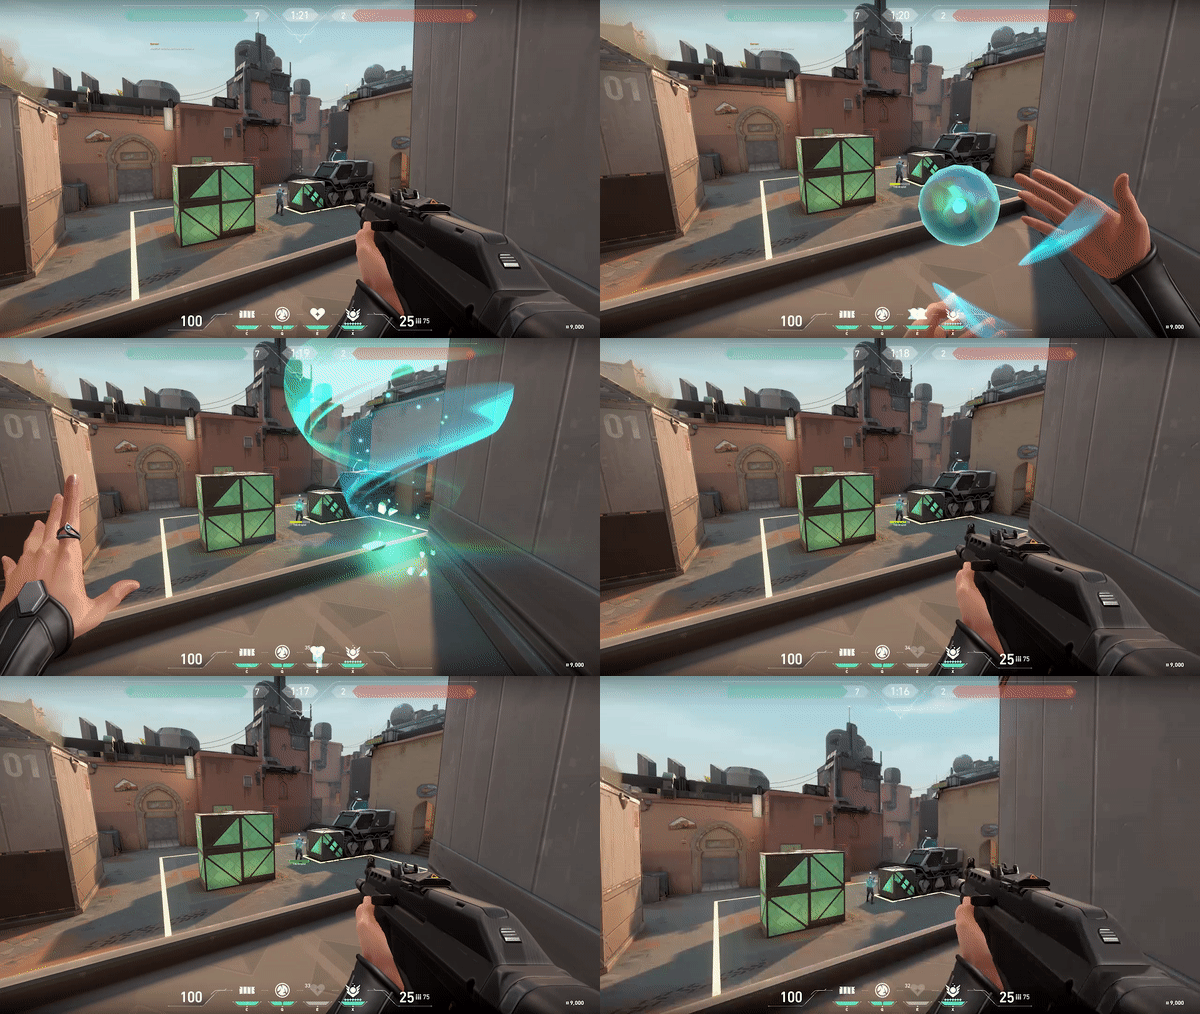
Valorant Sage Barrier Orb (Perfect Vault)
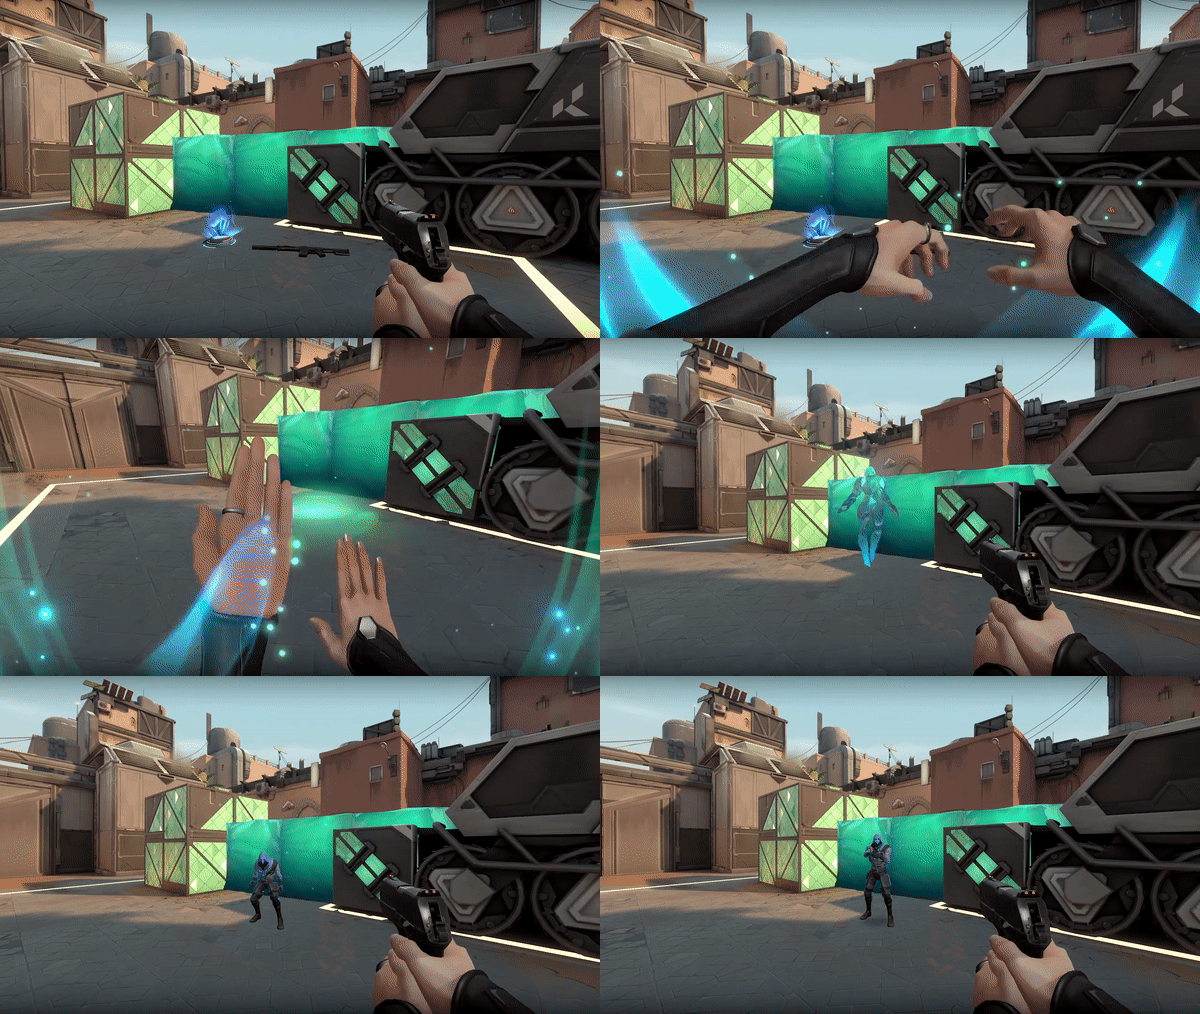
In FPS games, peeking is a necessary skill to perfect. The more unexpected the angle, the more you set yourself up for success. That said, Sage’s barrier orb can create these uncanny angles to attack from. Placing the Barrier Orb beneath your feet will elevate you and anyone standing on it. You can use it to get on top of boxes, spike sites, and many other things.
-
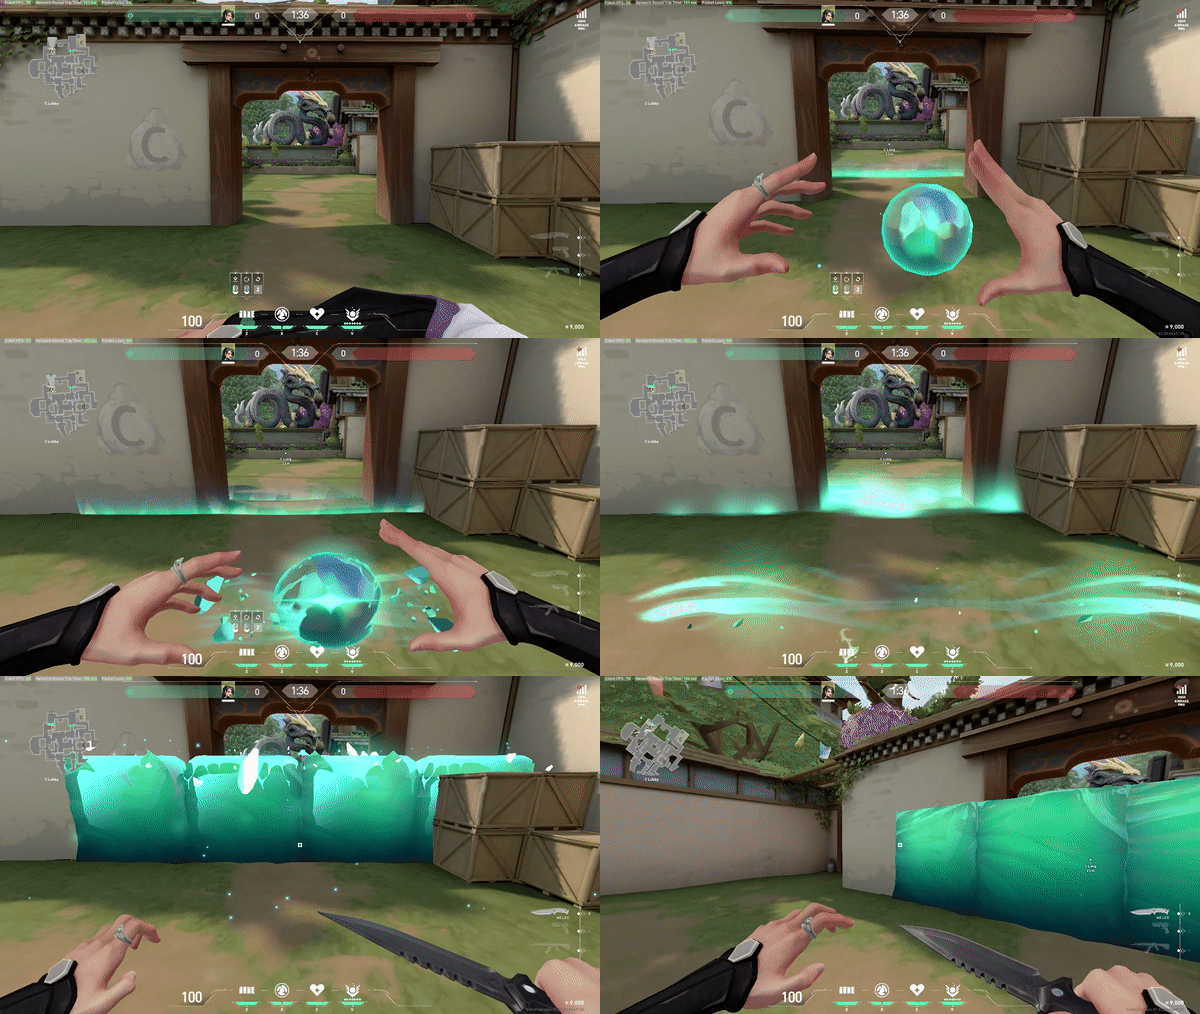
Create walls that block off choke points.

Valorant Sage Barrier Orb Blocking
The first normal thought anyone would have when considering the ability to make a wall is, of course, Donald Trump. Close, but think “The Great Wall of China” as Sage is Chinese. Seriously though, you can block just about anything with this wall, and entrances and small areas are the best places to display this. The doorway to a site, the tight space of a junction, or just using it block your teammates from defusing if you’re a troll. You can also block abilities like Raze’s Ultimate rocket launcher and her grenades.
-
Curtain yourself to block vision and revive safely.

Valorant Sage Barrier Orb (Shielded Revive)
Reviving allies can be a dangerous endeavor. Any opportunity your enemies find you with your pants down and without a gun in your hand can spell doom. Your Barrier Orb can create cover for you to safely revive an ally. This ice shield can help you pull your pal out of a precarious situation.
-
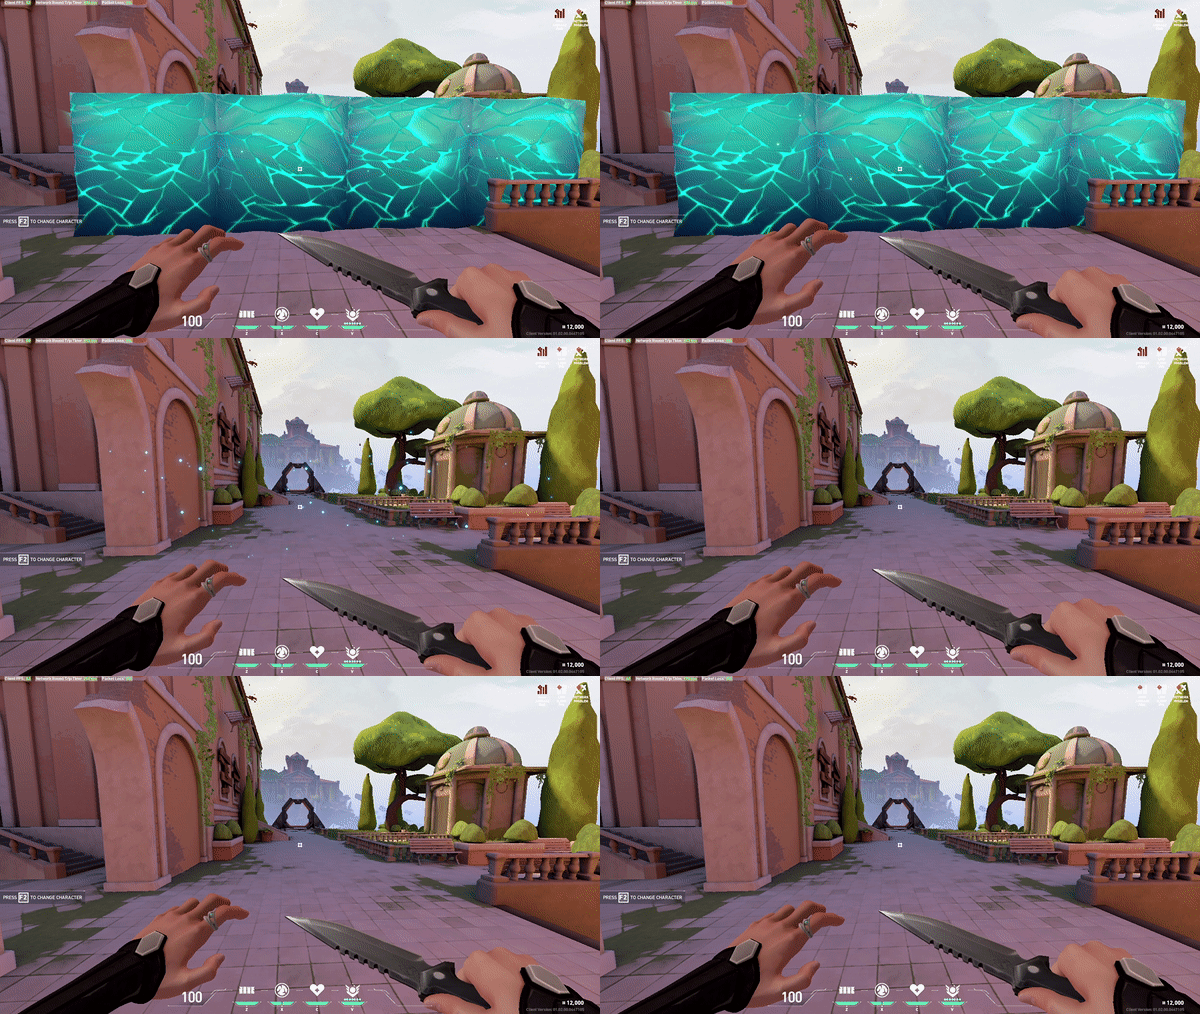
The wall automatically dissolves after 40 seconds.

Valorant Sage Barrier Orb (Breaking)
The timing of putting up the wall is another problem to ponder. After casting the Barrier Orb, it will stay where you put it for 40 seconds, assuming no one destroys it first. When on the defending side, you may want to hold on to this ability a bit longer as you may find a better use for it later on. You can only use this ability once, so you have to make it count.
Obstructing Enemies with the Slow Orb

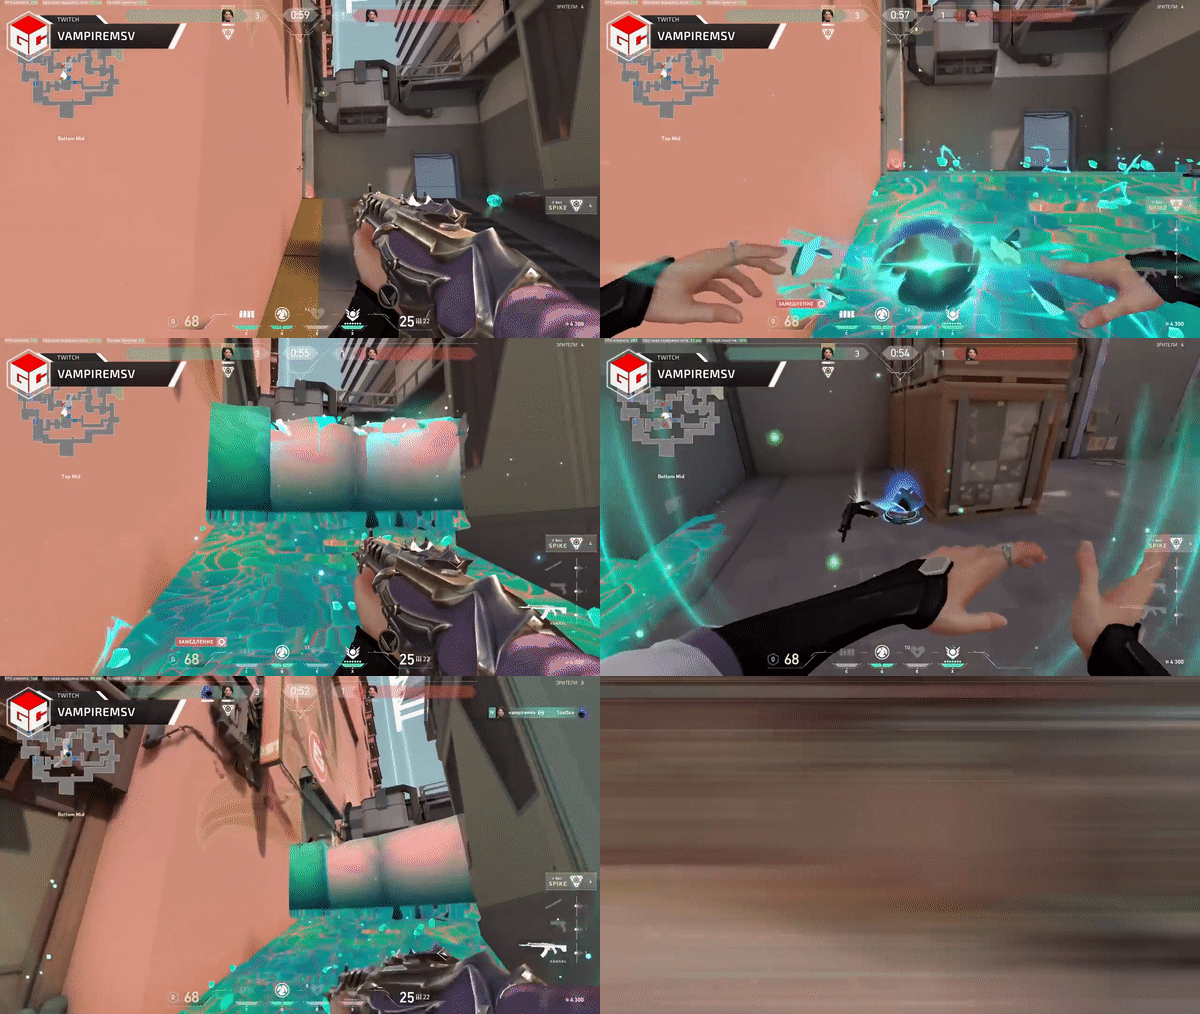
Valorant Sage Slow Orb (Slow Middle)
It becomes very apparent how powerful the slowing mechanic is from tagging (slowing down when you’re shot), so Sage’s ability to use this devastating debuff can turn the tides of a fight. Using the Slow Orb optimally takes time, practice, and a bit of theory-crafting. The general consensus is to use it in pistol rounds, in tight spaces and choke points, and to kill rush in its cradle.
When using the Slow Orb, here are some things to take into account:
-
Abuse Sage’s slow orb ability in the pistol round

When it comes to using pistols, it can be a lot harder to hit headshots. Being able to slow your enemies to a crawl will give you a competitive advantage when duking it out. The slowed enemies will be easier to hit, and therefore easier to kill. The reduction in movement speed may also disorient their aim, especially with pistols. -
Stop enemy rushes with the slowing field.

When the entire enemy team is dead set on annihilating you, they generally all rush one site or pathway together. As Sage, you can stop these rushes dead in their tracks with the proper placement of a Slow Orb. -
Use the Slow Orb to alert you of enemy advances
When an enemy or ally walks on your slowing field, it creates a unique sound. You can use this as an indicator that someone has come through the place you chose to put it. It is like Cypher’s cage.
-
Sage’s slow orb ability slows enemies and allies alike, so be careful where you put it.
This point is pretty self-explanatory. If you throw this in the middle of your teammates, you are crippling their movement, and therefore shooting yourself in the foot. Just be cautious of where you throw the Slow Orb
-
Use this ability with other area-of-effect abilities for greater results
This requires a bit of coordination with your teammates. Using this in cooperation with Phoenix, Brimstone, Raze, or Viper’s AOE abilities can cause devastating damage.
Revitalizing Your Team with Resurrection
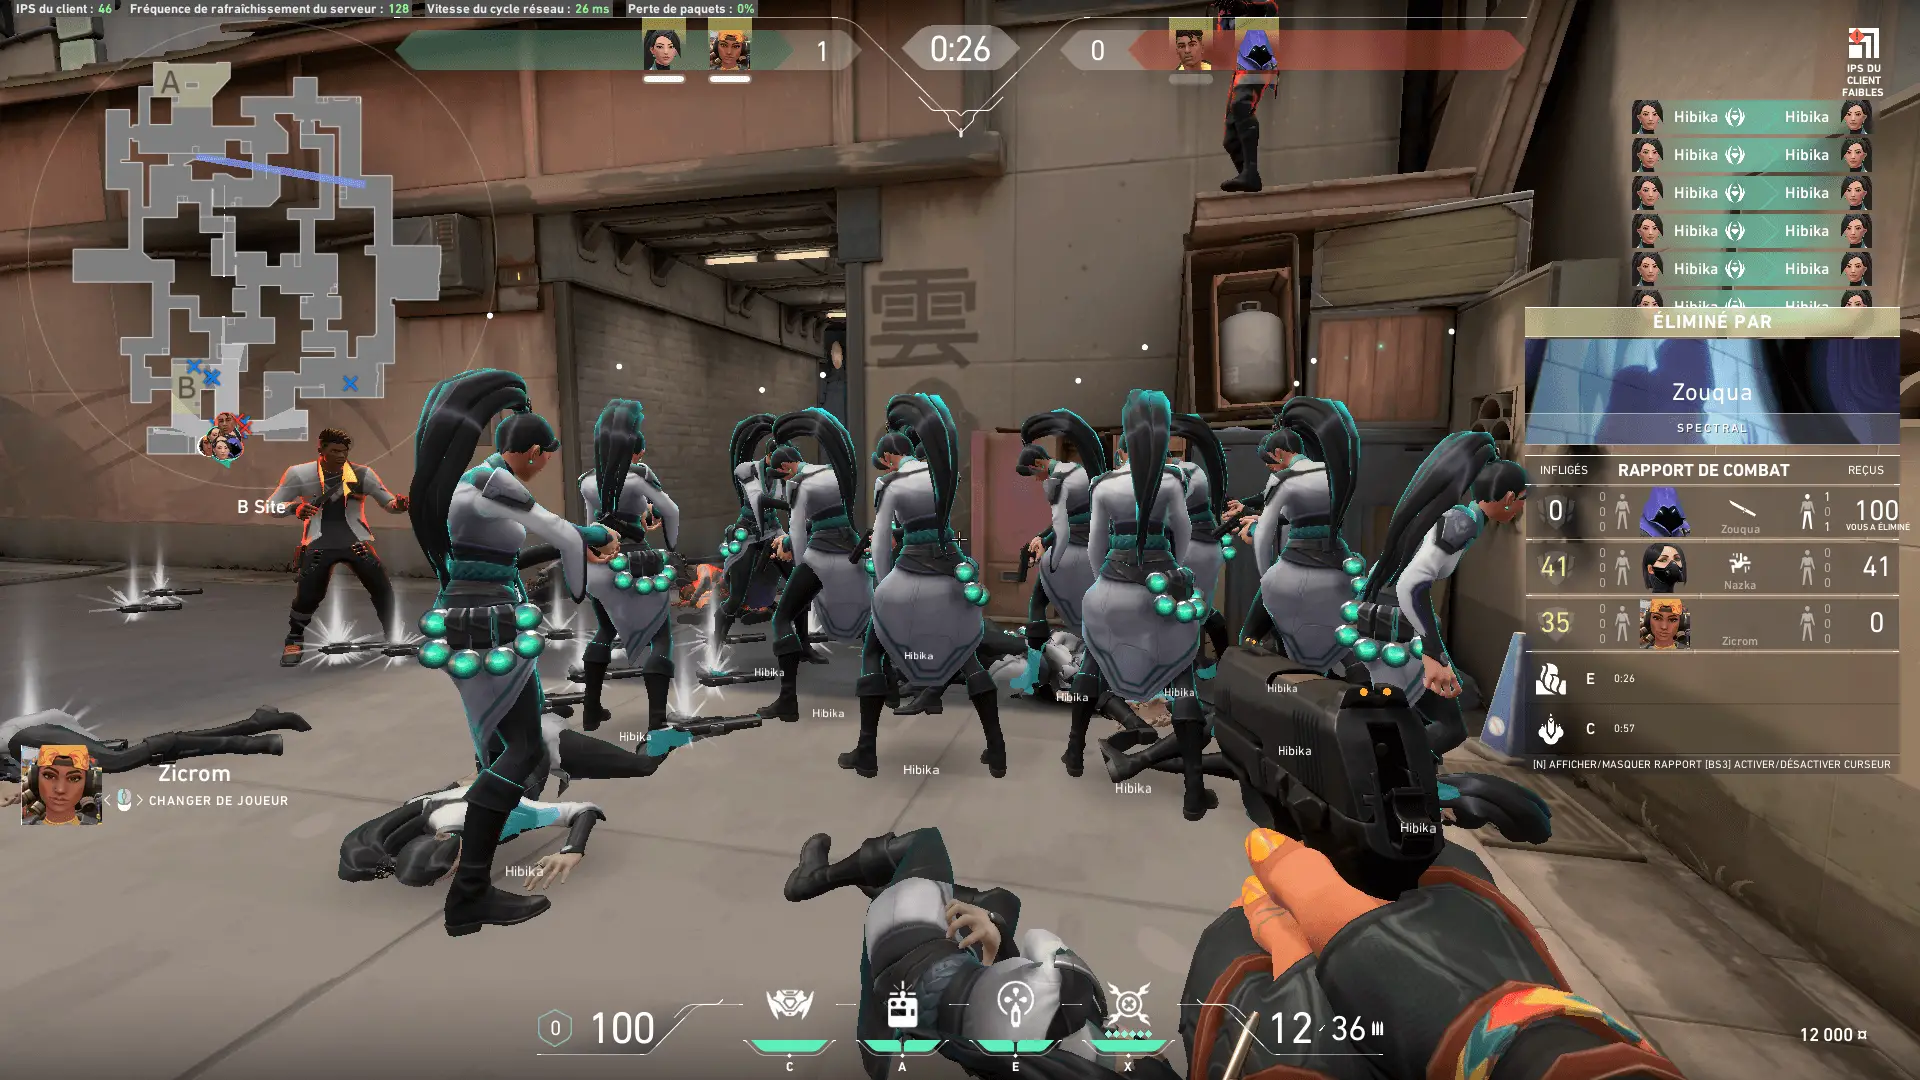
It’s not every day you see the ability to revive players in a first-person shooter.
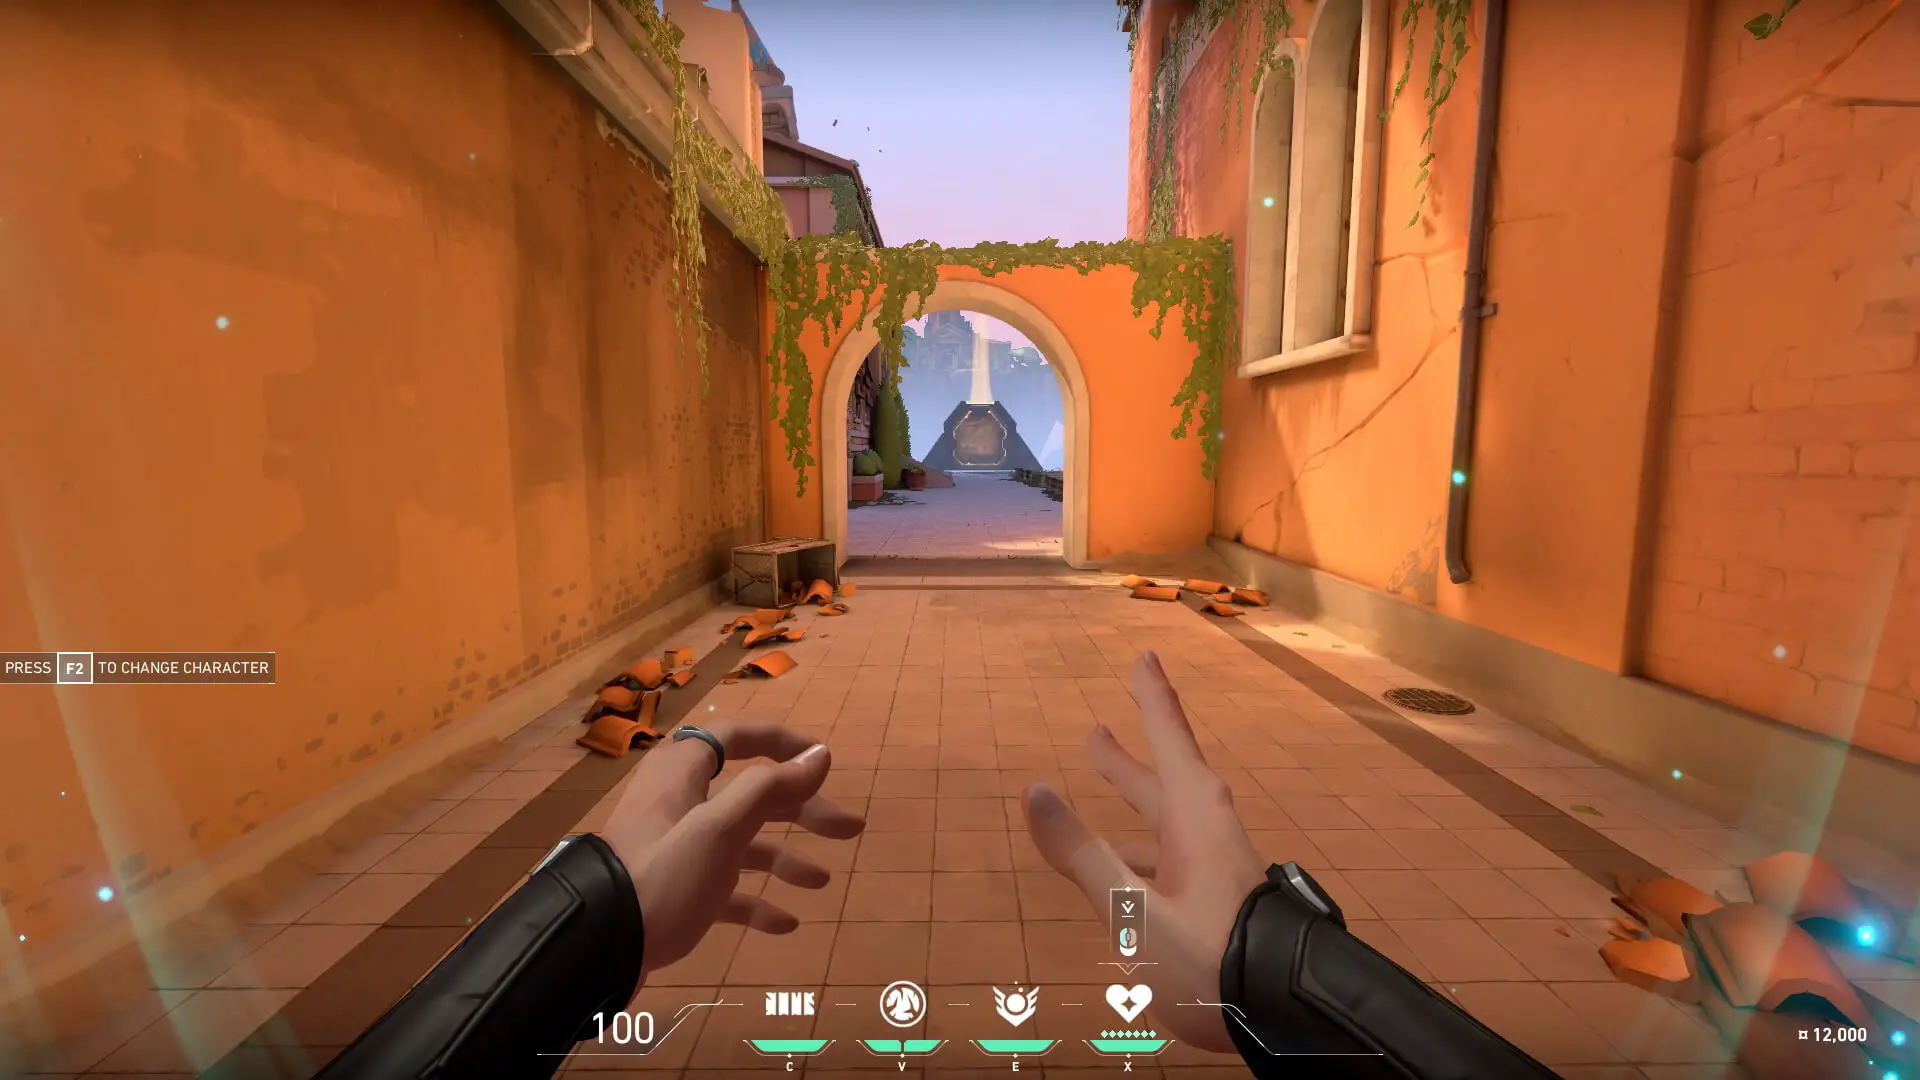
Thanks to Sage, you see it happen probably more than you’d like. Resurrection is Sage’s ultimate ability which allows her to revive a teammate of her choice. You walk up to an ally, press your ultimate and click on them.
Sounds simple, right? Wrong. While executing the ability is pretty straight forward, many variables need to be taken into consideration. For one, you don’t want to go reviving the rookie that gets wrecked every round.
Similarly, you don’t want to run across the map just for your best player and die in the process, reviving no one. Let’s say you did find someone suitable to bring back to life; you have to do it in a safe place or you and your teammate will get killed.
For such a straightforward ability, there sure are a lot of little things to consider.
Tips to help you master Sage’s resurrection ability
-
Sage’s resurrection animation leaves you vulnerable for about 1.5 seconds

Sage’s resurrection animation takes about 1.5 seconds
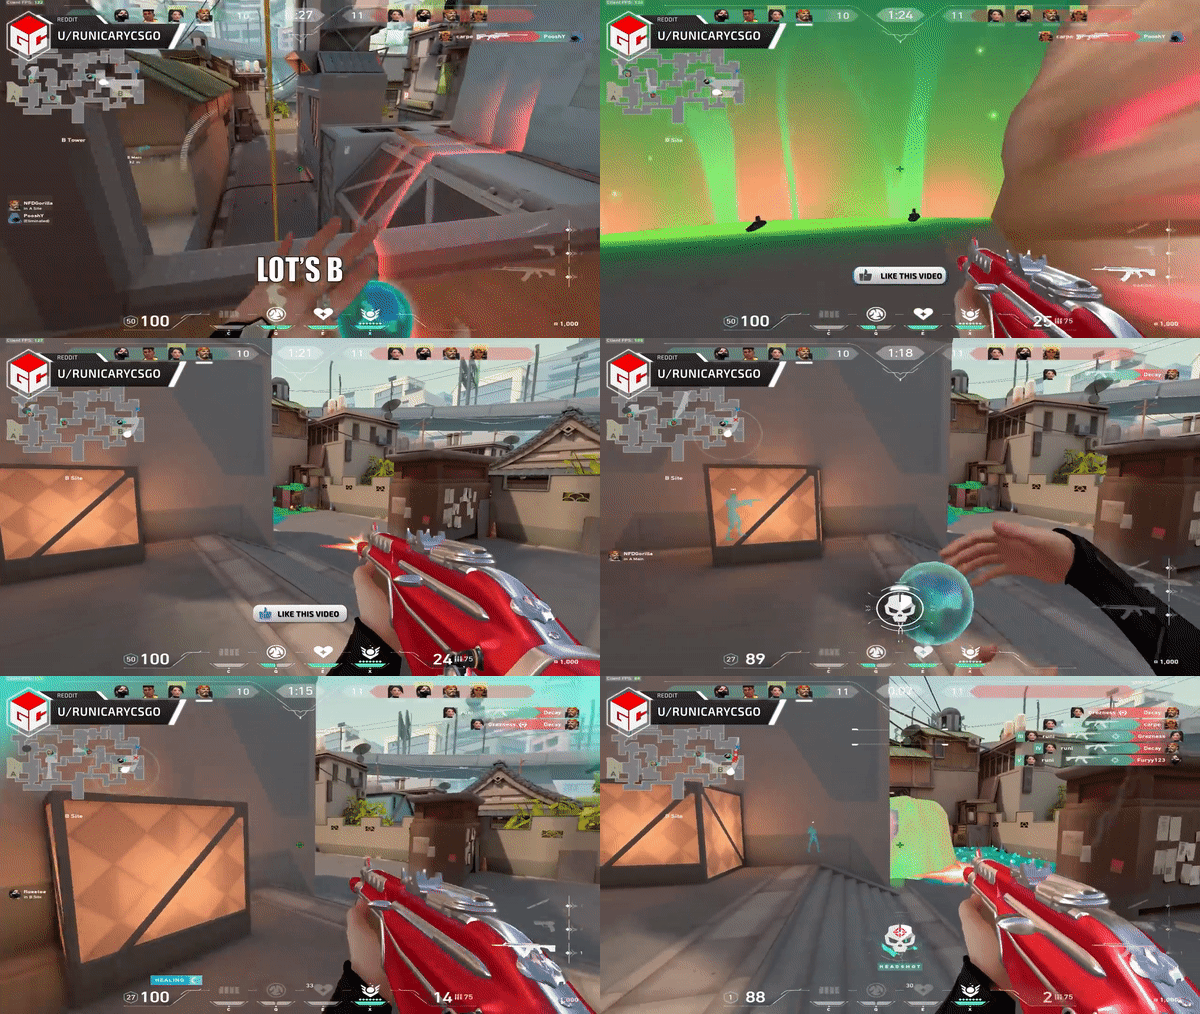
The animation to revive takes about 1.5 seconds for Sage and about 2 seconds for the ally. That may not sound like much, but anyone who has played a cooldown based game knows that many things can happen in a second, let alone two. When reviving, be aware of how vulnerable you are when reviving others.
-
Both you and the revived teammate are easy pickings during the revival process.

Resurrection leaves you and teammate vulernable
This point cannot be stressed enough. It is not worth it to die in order to revive a teammate because chances are if you die, your teammate isn’t far from death themself. Since you have to be relatively close to the Agent you are reviving, it almost always leaves you in a bad spot. Use some sort of cover or ensure you are in a safe position before reviving a teammate.
-
Revive the closest, most competent player.
Like was mentioned earlier, you don’t want to revive the person who literally couldn’t aim if their life depended on it. Assuming you have a choice, revive the person nearest to you (in your line of sight) that has shown they can hold their own. Their score is a quick, but not a very comprehensive way to gauge this. Keep in mind that you cannot revive yourself, so if you die, that is the end of the Resurrection.
As you can see, Sage has a lot of gameplay options that make her a strong addition to any team. She’s about the only Agent that is a must pick in a competitive setting. That said hopefully, you’ve come from this article a better Sage than when you came. Your allies need a solid support player, so get in there and carry your team to victory.

Comments